Preferences
Preferences are how you control how certain things work in KeepnTrack, for your site or all sites.
Access Preferences from the sidenav or by appending /preferences to your KeepnTrack URL.
Table of Contents
Although you might not visit Preferences often, you’ll want to review what settings are available to you and make sure KeepnTrack is set up to work the best for your system.

Site vs System?
In the top-right of any preference area, you’ll see SITE or SYSTEM. Site means this preference is for your site only; System means that it applies to every site in your district.
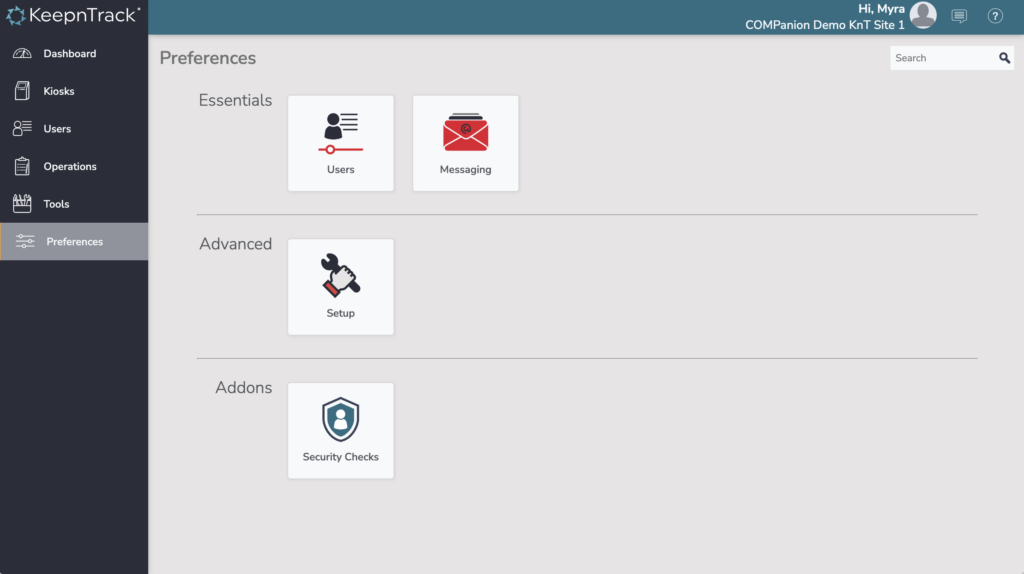
Essentials

Users
Set up your Roles.

Messaging
Customize message text.
Advanced

Setup
Customize terminology.
Addons
Users Preferences
User Defaults
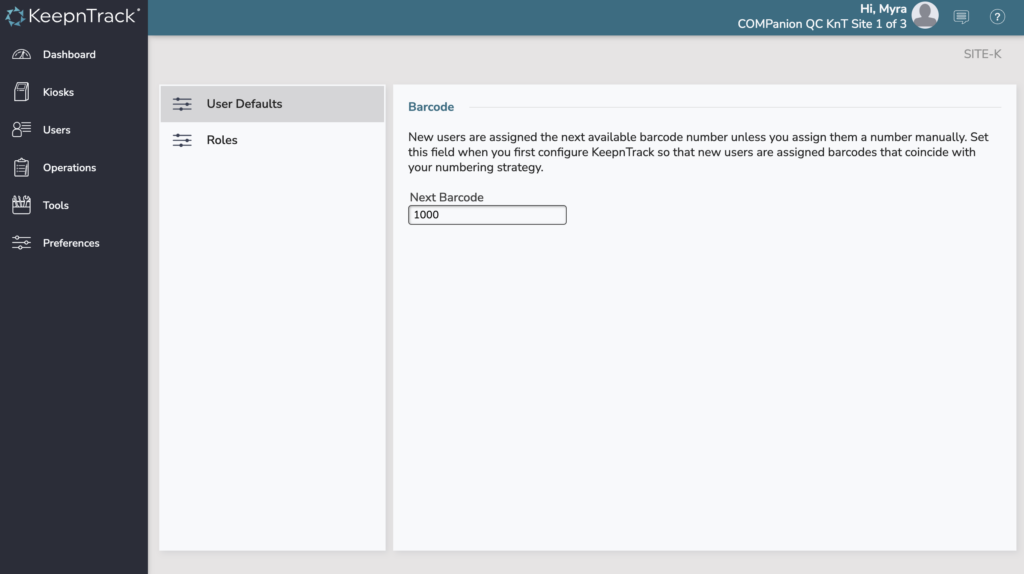
Next Barcode. Use this to standardize your barcodes across KeepnTrack sites. The barcode here will be the next barcode assigned when creating new Users. Barcodes are used to sign in to kiosks.
Roles
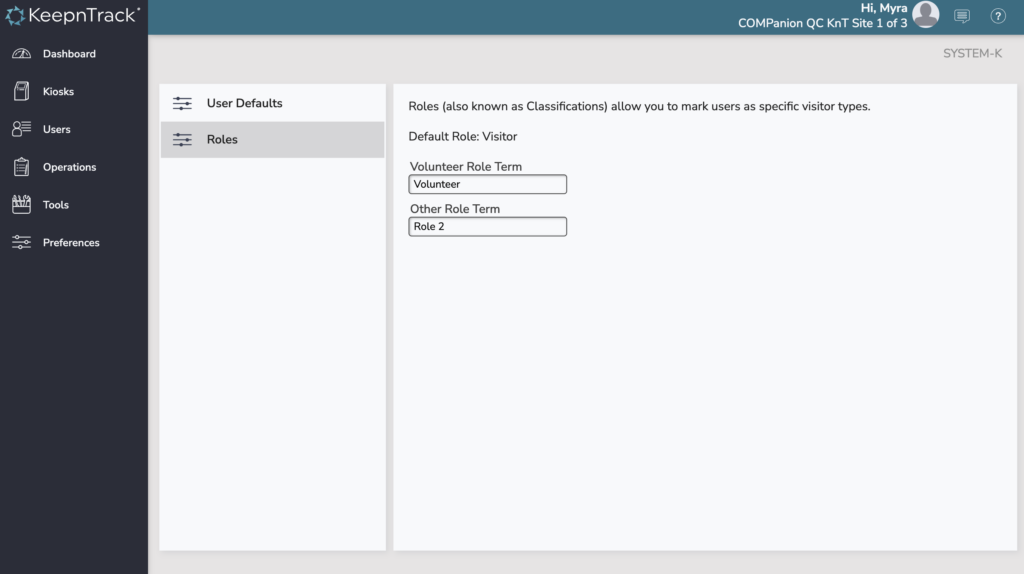
Roles (also known as Classifications) allow you to mark users as specific visitor types. By default, all users are “Visitors” (Role 0); if you want them to sign in to activities specific to a different role, you can customize those role names here.
Volunteer Role Term. This term (Role 1) is asusmed to be a kind of Volunteer role that may come with extra features. If you don’t track volunteers with KeepnTrack, you can use this role for a different purpose.
Other Role Term. This (Role 2) can be whatever other role you want. For example:
- Student Volunteer
- Student
- Staff
Form Notices
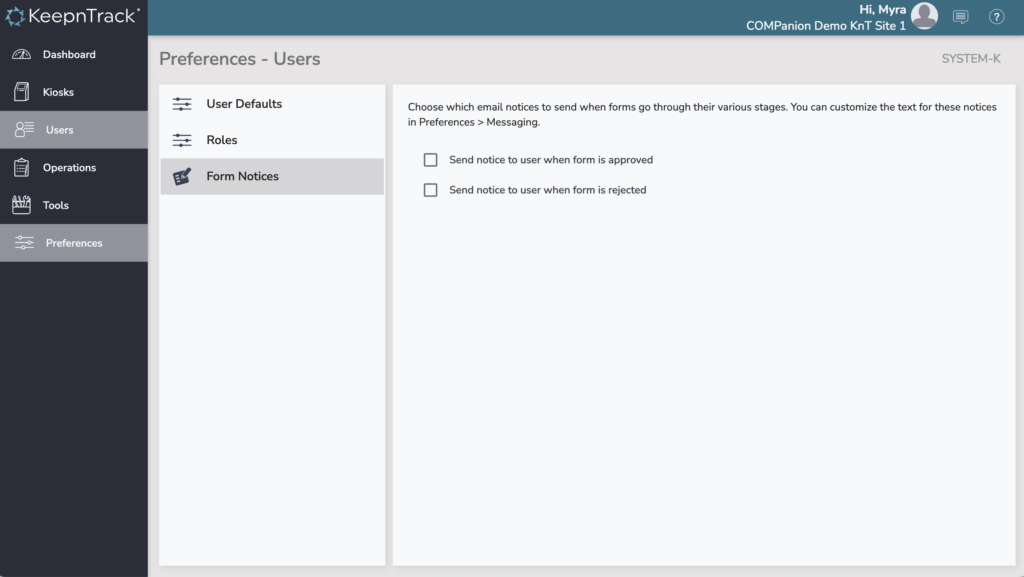
Choose which email notices to send when forms go through their various stages. You can customize the text for these notices in Preferences > Messaging.
You have options to send notices when forms are accepted, and/or when forms are rejected.
Messaging Preferences
Form Letters
Here you can customize the text for notices relating to Forms (e.g. volunteer applications).
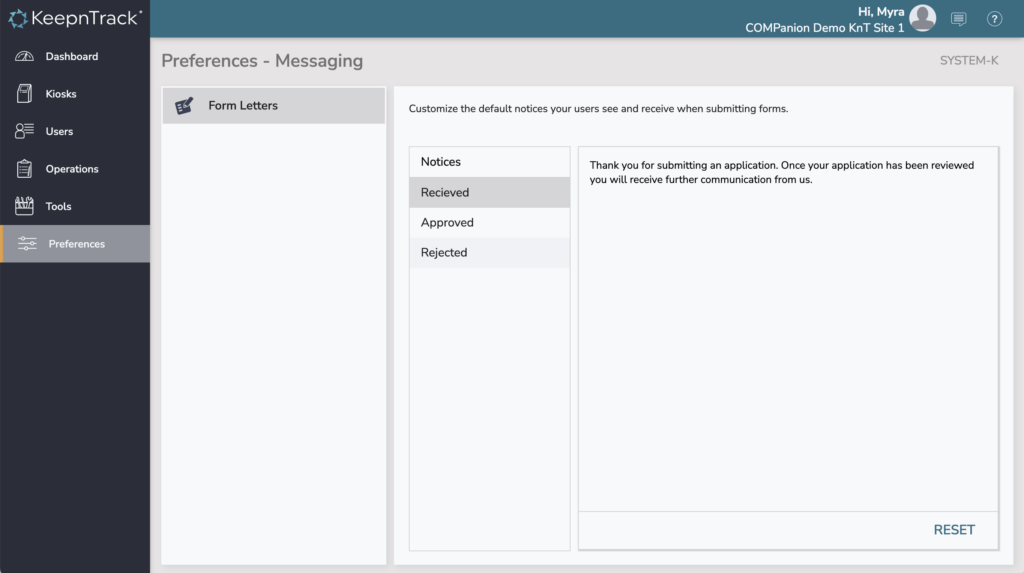
Received. When a user submits a form, this is the text that they see before they are redirected. Customize these instructions by directing them to additional resources, or letting them know how long it will take for someone to review the submitted form.
Approved. You can turn on Preferences > Users > Form Notices so that when a form is approved, users receive an email with this information. For example, you could include some contact information or links to volunteer resources.
Rejected. You can turn on Preferences > Users > Form Notices so that when a form is rejected, users receive an email with this information. For example, you might include common reasons why forms/applications are rejected, or a number to call to discuss the form.
Setup Preferences
Localization
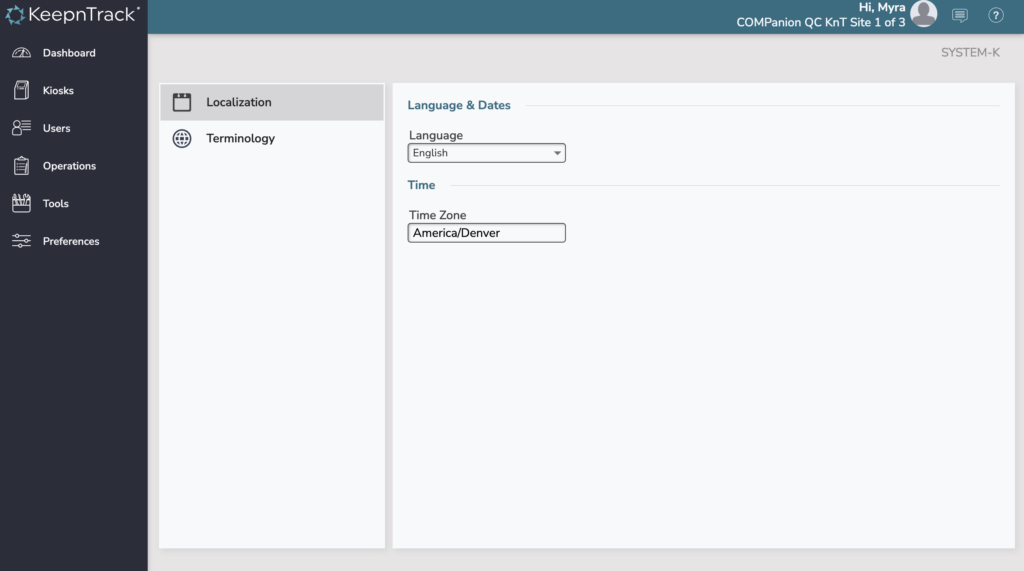
Change your language and timezone.
Supported languages: English, Spanish
Terminology
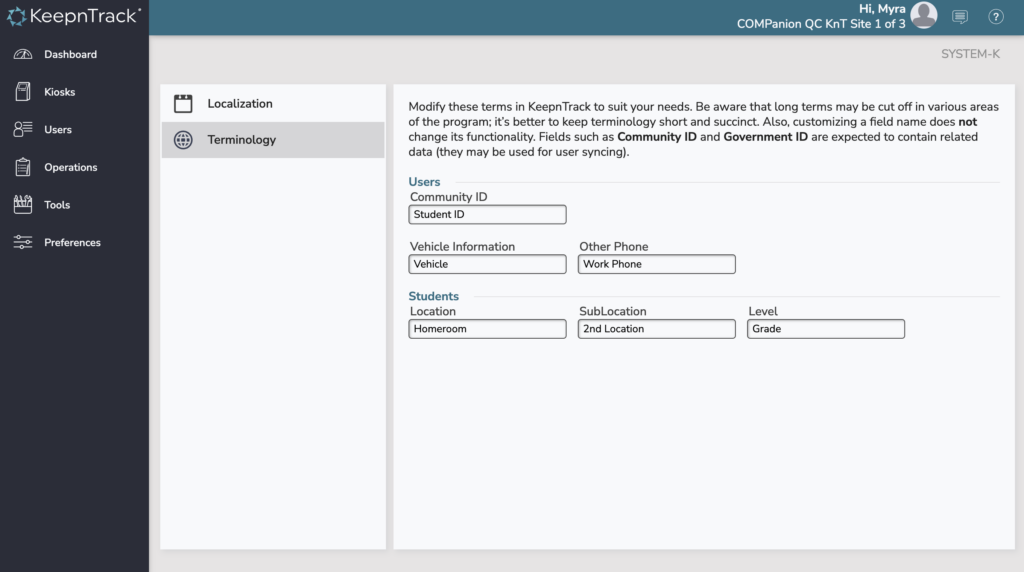
Customize the terminology for the following fields. Note that the data is sometimes assumed to be of a certain type.
- Community ID. Alternate ID; can be used to sign in to kiosks. Default: Student ID.
- Vehicle Information. Default: Vehicle.
- Other Phone. Default: Work Phone.
- Location. Default: Homeroom.
- Sublocation. Default: 2nd Location
- Level. Default: Grade.
Custom Form Fields
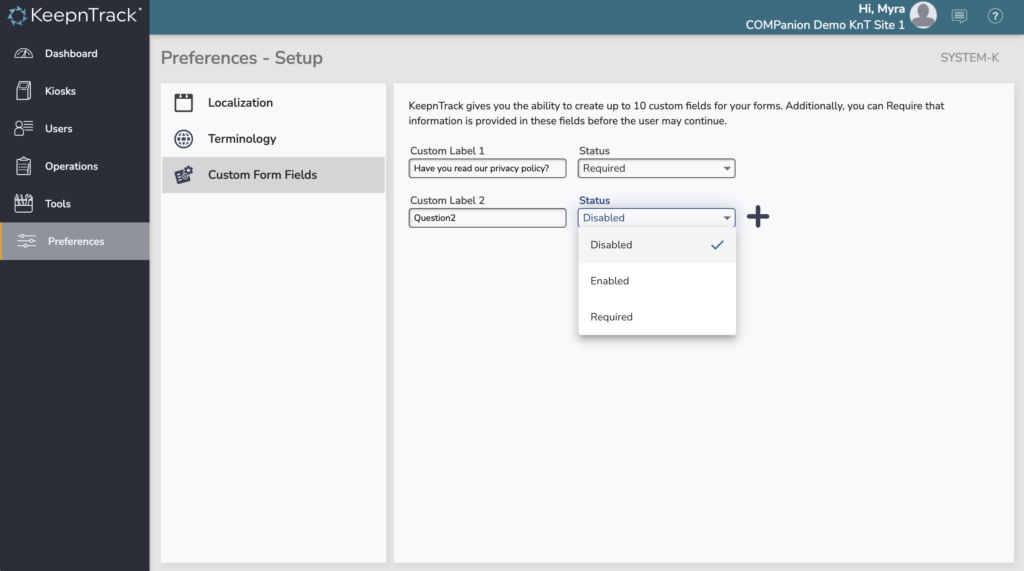
KeepnTrack gives you the ability to create up to 10 custom fields for your forms. Additionally, you can Require that information is provided in these fields before the user may continue.
Click the plus icon (+) to add more fields. Enter a label (a question) and choose a Status. When a question is Disabled, it won’t show on the form. Enabled questions show but are not required. Required questions must have some text in the answer before the user can submit the form.

